
Once your opal slices are glued onto the glass you will have to flatten your opal to clean any off any glue on the opal and to highlight the colour. By grinding away some of the opal we make the colour and pattern more defined.
If the opal is red we will remove more material. If the opal is blue we will remove less. As the opal is thin to begin with be careful not to lap away all of your opal. The lapping can be done on a diamond lap, either electroplated or sintered and with or without the use of water. Just be careful of the dust if doing it dry. The grade of diamond lap can be #260 or #360 grit. Doing this process wet makes the colour easier to see. The glass plate with opal slices can be divided up by using a diamond saw to make handling and lapping easier.
When you are satisfied that the sliced opal is thin enough through lapping, glue moulded crystal caps onto the areas of colour. You can use any clear 24 hour curing epoxy or a thin viscosity clear uv glue. If using epoxy, use mild heat to speed up the drying process and make the bond stronger.
I use a flat electric frying pan on low heat. The caps and epoxy need to need to warm or you may see air bubbles form. An unfortunate side effect of mixing epoxy is the trapping of many small air bubbles in the glue. So when putting the caps onto the epoxy on the opal gently rub the cap in a circular motion to eliminate these bubbles.
Try to make the most of the areas of colour by grouping small and large caps together. Avoid having caps touching each other, as this makes separation more difficult. Also, avoid handling the caps with your fingers as the natural oils from the skin can prevent proper adhesion, so use tweezers. As an extra precaution clean the surfaces to be glued on an alcohol soaked tissue.
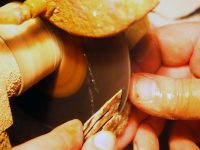
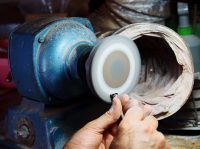
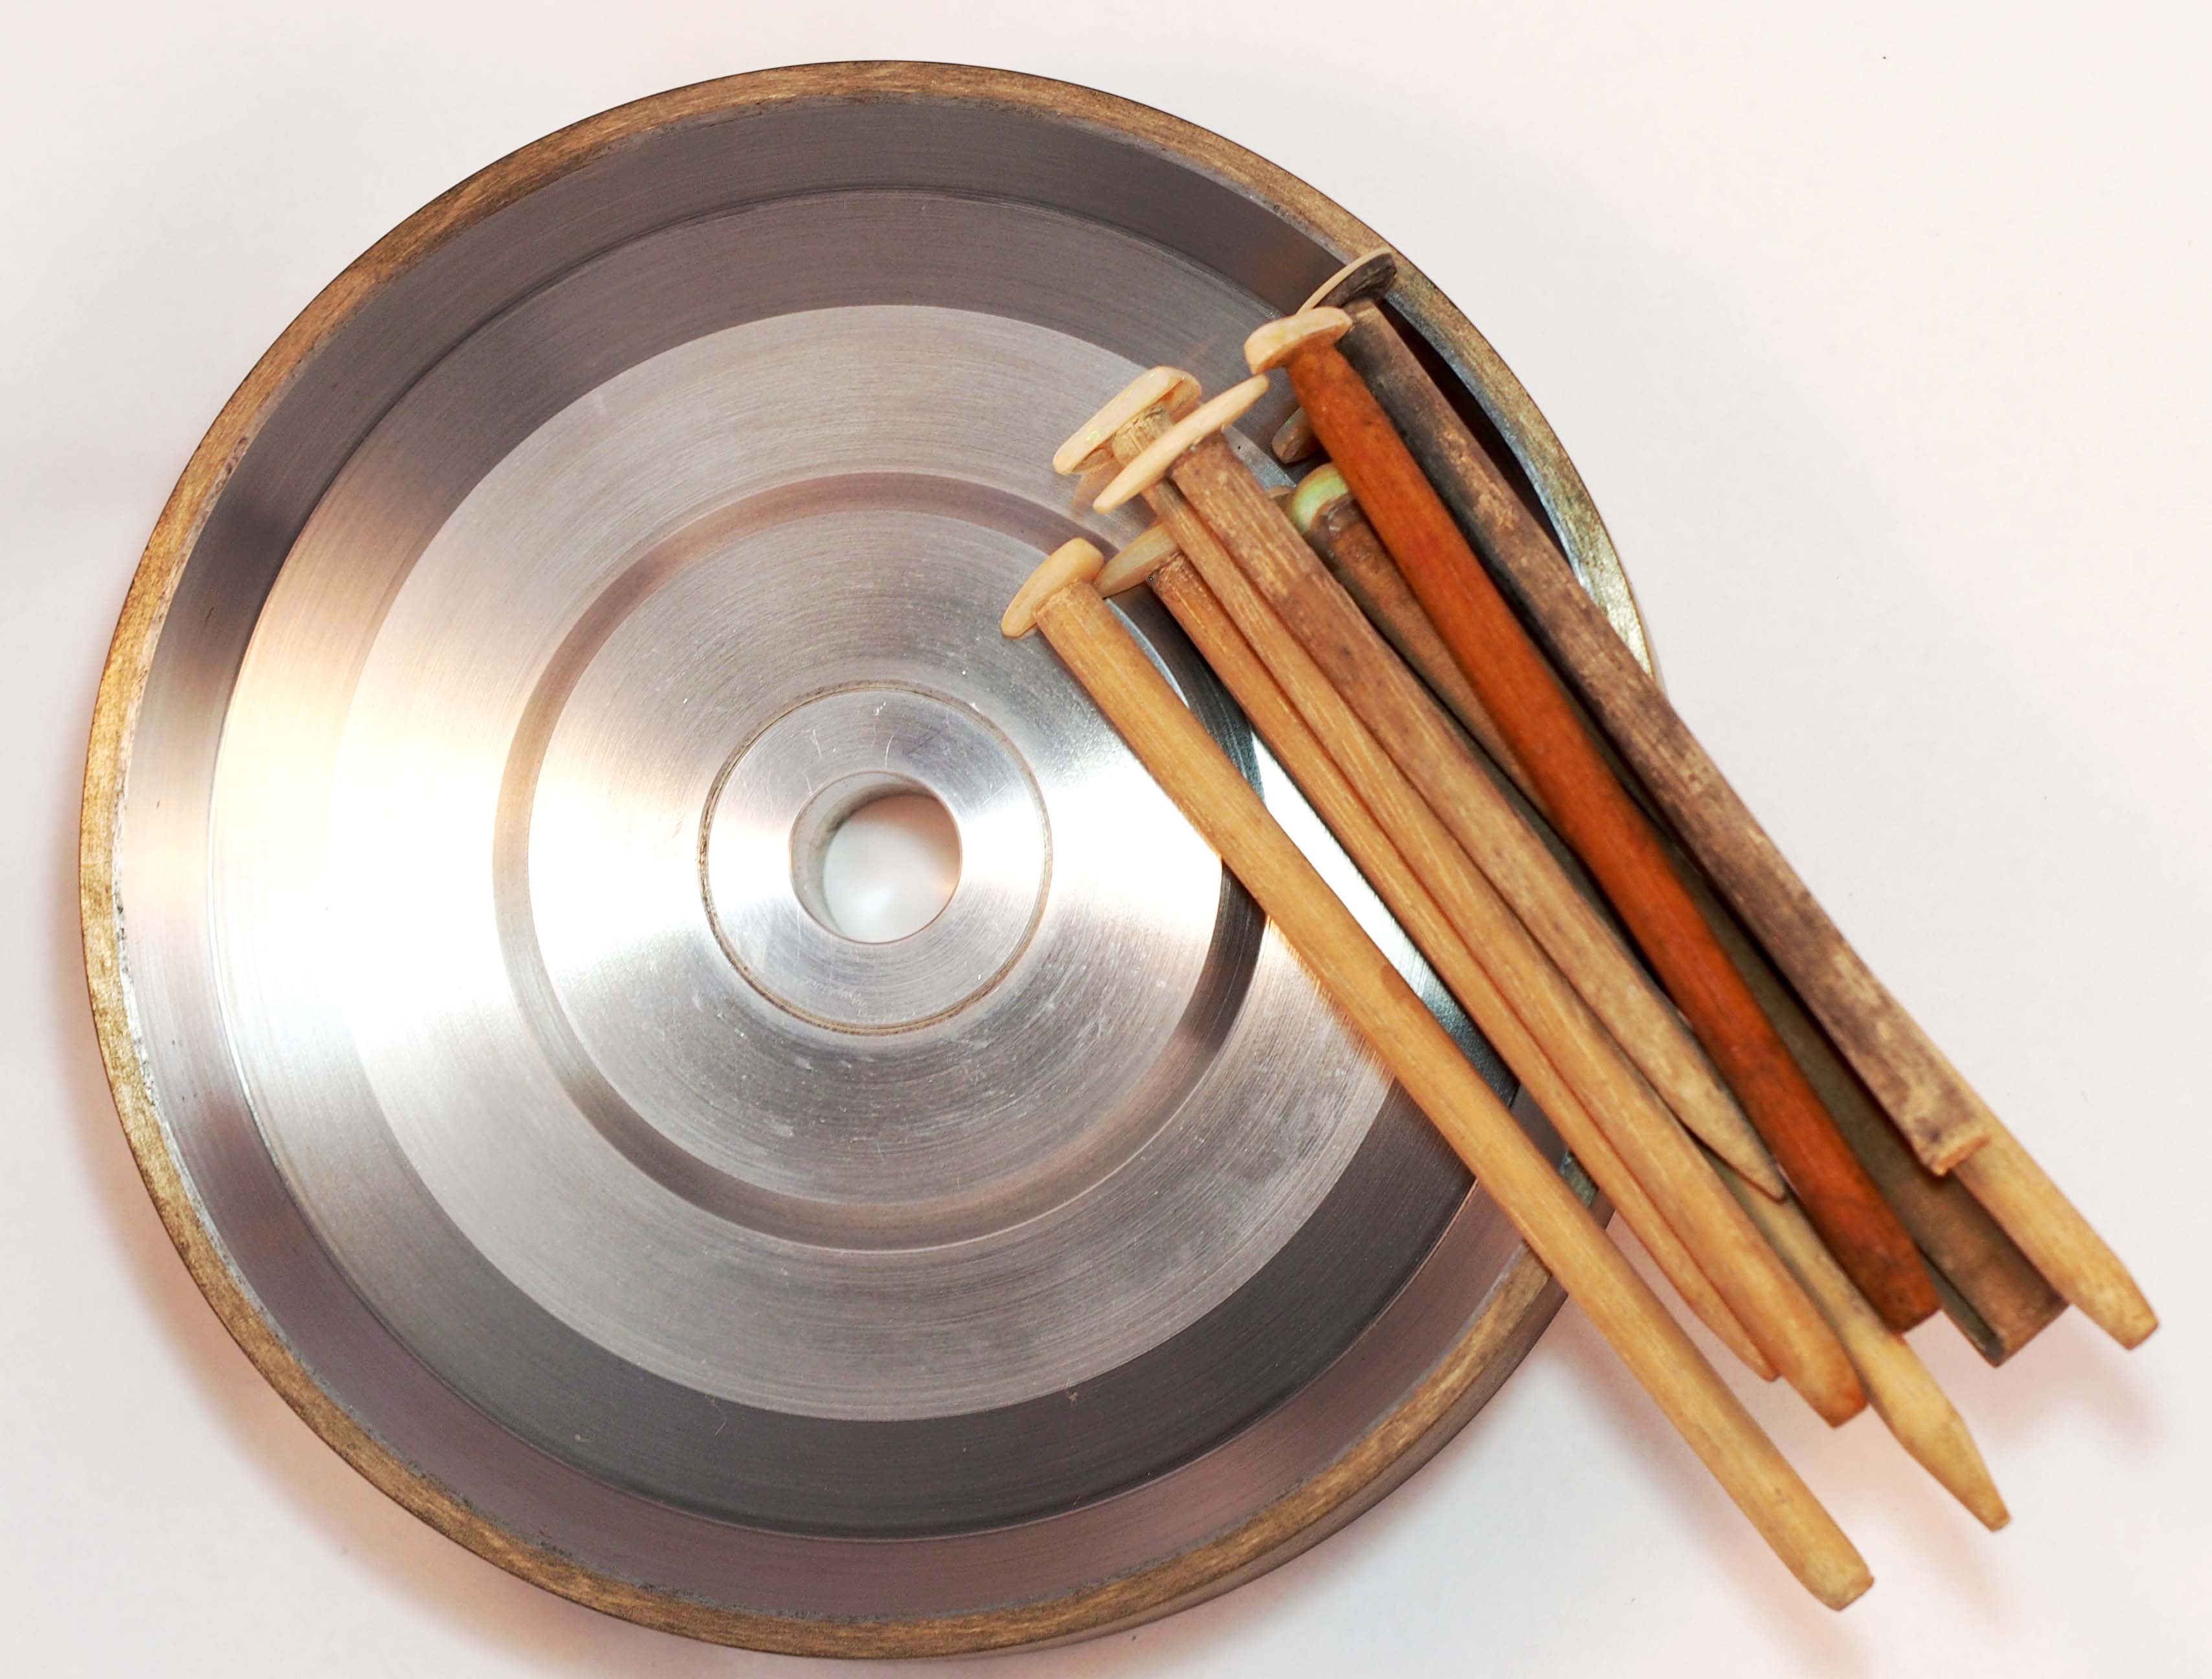
When you have finished capping your opal slices, separate the capped opal with the use of a thin diamond saw running in water. Dry the now individual capped opal pieces and glue the capped area or the top of the triplet onto an appropriate diameter of dop stick with either PVA glue or 5 minute glue. I use 5 minute Araldite because it doesn’t come off in cold water. Hopefully you have trimmed as close as possible to the cap.
Now you need to grind away the excess glass and opal. Trimming the back of the triplet can be done with water on a fine silicon carbide or diamond wheel either electroplated or sintered. The grade should be approximately #240. Using the cap as a guide, grind a 45 degree bevel on the glass backing. The bevelled edge allows the triplet to sit better in cup settings. This will bring the glass backing to the edge of the cap. To add a professional touch, do the same process grinding on a sander using a fine grade of paper or diamond.
To remove the triplet from the dop stick, momentarily put the triplet and end of the dop stick into boiling water. Take it out of the water and gently remove it from the dop stick. This may sound a little severe but boiling water has no effect on good quality adhesives except for the dopping glue.
Dry and clean any excess glue from the cap. Your triplet should now be complete.
